
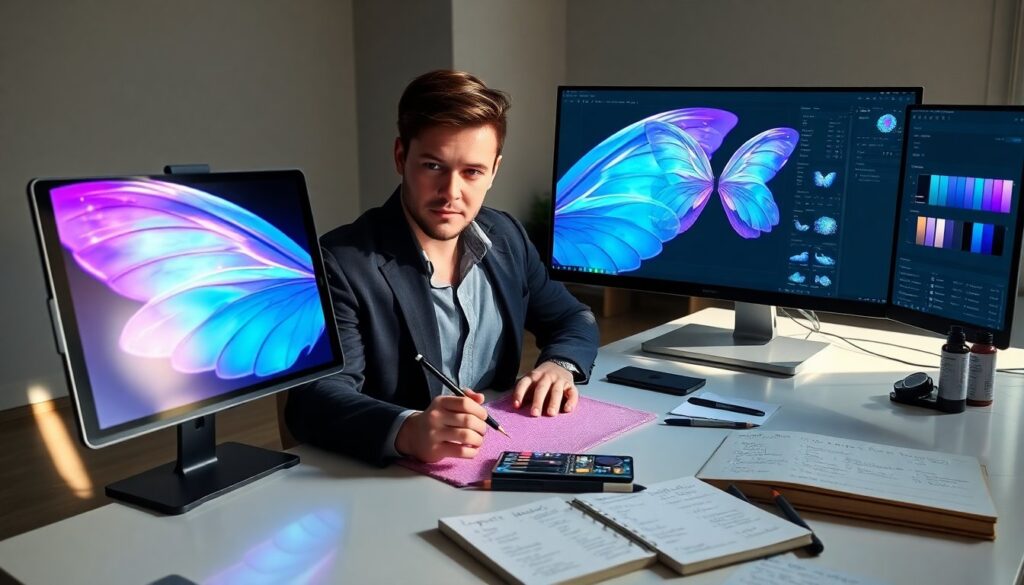
luminous wings painting tutorial thefairypixelshl teaches how to paint glowing fairy wings in clear steps. The tutorial shows materials, color choices, and light layering. It guides the artist through base shapes, midtones, and bright highlights. It explains brush work for soft glow. It includes tips for glazes, bloom, and particles. It ends with export settings and common fixes.
Key Takeaways
- The luminous wings painting tutorial thefairypixelshl guides artists through clear steps to create glowing fairy wings using proper layering of base colors, midtones, and highlights.
- Selecting a limited color palette with a cool base, warm accents, and bright highlights ensures harmony and effective glow in luminous wings painting.
- Using specific brush techniques like soft round brushes for glow and fan brushes for feathered edges helps achieve a delicate, translucent effect on the wings.
- Adding effects such as glazes, bloom, and scattered particles intensifies the glow and magical quality of the wings while maintaining depth.
- Final steps include refining details, setting correct export resolutions, and troubleshooting common issues like flat glow or color shifts for optimal luminous wings artwork.
What You’ll Need: Materials, Brushes, And Canvas Setup
Materials list suits digital and traditional artists. For digital work they need a tablet, pressure-sensitive brush set, and a layered-capable app. For paint work they need acrylics or gouache, synthetic brushes, and a primed board. Artists need a soft round brush, a liner, and a fan brush. They need a fine detail brush for veins. Canvas size must match the final output. Artists set canvas to 300 DPI for print and 72 DPI for web. They place a neutral mid-grey base to judge light.
Blocking In Shapes: Composition, Wing Anatomy, And Silhouette
The artist sketches a simple silhouette first. They mark the shoulder point, wing span, and tip locations. They draw primary veins and main cells. They check negative space to balance the composition. They block in dark and light areas to set contrast. They refine edges only where the eye will land. They keep outer wing edges soft for a delicate look. They avoid tiny details at this stage.
Choosing A Color Palette For Luminous Wings
The tutorial recommends a limited palette. Artists pick a cool base, a warm accent, and a bright highlight. They test palettes on a small swatch to confirm harmony. They reserve one vivid color for focal glow. They add a desaturated midtone to tie parts together. They check color contrast under the chosen light direction. They avoid pure black for shadows and use deep blues or purples instead. They name swatches to keep choices consistent across layers.
Layering Light And Color: Base Layers, Midtones, And Highlights
The artist lays in base colors first. They block large color masses without edge detail. They add midtones to define planes and volume. They paint highlights last to show light sources. They place the brightest highlights on thin membranes and veins. They use multiply or overlay layers for depth in digital work. They let acrylic layers dry between glazes for traditional work. They maintain separate layers for base, mid, and highlight to keep edits simple.
Brush Techniques For Soft Glow And Texture
The artist uses a soft round brush for glow. They reduce opacity and build light with repeated strokes. They use a textured brush to add subtle surface grain. They drag a low-flow liner to draw fine veins. They use the fan brush to create feathered edges on membranes. They press lightly for translucent strokes. They blend with a low-opacity smudge or soft dry brush to keep edges soft. They vary stroke length to avoid uniform texture.
Adding Glow And Special Effects: Glazes, Bloom, And Particles
The artist applies thin glazes to intensify glow. They pick a saturated color and drop opacity to 10–30 percent. They paint glazes near light sources to push color outward. They add bloom by isolating the brightest areas and blurring them on a duplicate layer. They lower the duplicate opacity to taste. They scatter small particle marks to sell magic. They vary particle size and opacity for depth. They use a final color dodge pass sparingly to boost focal points.
Final Touches, Export Settings, And Common Troubleshooting
The artist inspects the silhouette and trims stray marks. They sharpen key veins with a fine brush to increase read. They flatten minor layers only after saving a layered copy. They export PNG for web and TIFF for print at 300 DPI. They check histogram to avoid clipped highlights. If glow looks flat they add a small, saturated rim light. If particles read as noise they reduce size and opacity. If colors shift on export they soft-proof in the target color space.