
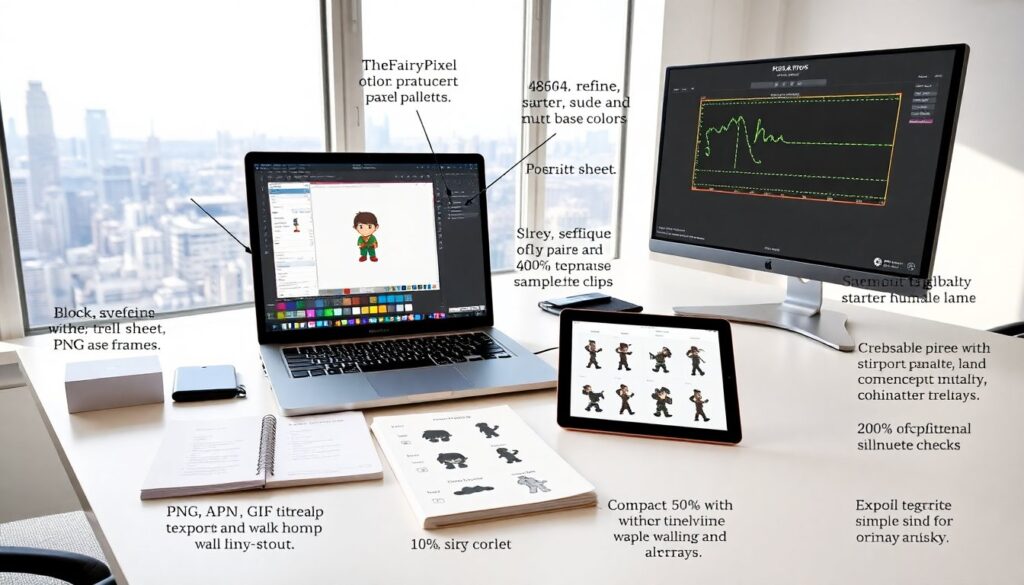
design tutorials thefairypixel show clear steps for new pixel artists. TheFairyPixel offers a simple workflow, practical tips, and project examples. The guide covers tools, palette choices, and canvas setup. The article lists three projects that build skill from basic sprites to polished scenes. Readers learn consistent methods that speed learning and help them create charming pixel art with confidence.
Key Takeaways
- TheFairyPixel’s design tutorials guide new pixel artists through a clear workflow emphasizing canvas setup, limited palette use, and step-by-step creation from blocking shapes to final polishing.
- Consistent methods like checking silhouettes at different zoom levels and practicing pixel economy help artists create charming pixel art efficiently and with confidence.
- Following TheFairyPixel’s multi-step approach—block, refine, shade, outline, polish—builds strong foundational skills applicable to characters and scenes alike.
- The tutorials recommend saving incremental project versions and practicing on multiple character types to build muscle memory and control scale and variety.
- Animation tips include using key frames with simple loops, optimizing frame timing, employing onion skin for smooth movement, and exporting with proper formats for web use.
- Web optimization and testing on different devices ensure pixel art maintains clarity, transparency, and performance, enhancing the final presentation.
Getting Started With TheFairyPixel Workflow
TheFairyPixel starts with a clear setup. The artist opens a pixel editor, creates a small canvas, and sets a limited palette. The tutorial recommends 32×32 or 64×64 for characters and 128×128 for small scenes. TheFairyPixel uses indexed colors to keep color counts low. The tutorial asks students to pick five to eight base colors before they draw.
TheFairyPixel shows a step order: block, refine, shade, outline, and polish. The student blocks shapes with single-color rectangles. The student refines shapes by adding edges and simple curves. The tutorial adds shading using one or two darker tones. The artist tests outlines in neutral gray. The student adjusts contrast and hue last.
TheFairyPixel teaches pixel economy. The instructor favors fewer pixels and clearer forms. The tutorial asks students to check silhouettes at 100% and at 200% zoom. The instructor shows how to remove stray pixels and fix jagged edges. The tutorial explains when to use dithering and when to use flat fills.
TheFairyPixel encourages saving steps. The artist saves a base version, a shaded version, and a final version. The student exports PNG files with transparency for web use. The tutorial links palette files and starter templates. TheFairyPixel advises practicing the same steps on three small projects to build muscle memory.
Step-By-Step Tutorial: Create A Charming Pixel Character
TheFairyPixel begins the project by choosing canvas size and palette. The artist picks 64×64 and six colors. The student draws a simple head and torso using large blocks. The tutor keeps the silhouette clear and compact.
TheFairyPixel adds limbs next. The instructor blocks arm and leg shapes with single colors. The student keeps joint pixels aligned to maintain readable posture. The tutorial suggests a slight pose to give personality.
TheFairyPixel then refines facial features. The artist places eyes and mouth with two-pixel elements. The instructor uses the second-lightest tone for eye highlights. The student keeps the face readable at small sizes.
TheFairyPixel applies base shading. The teacher selects one darker tone for shadows and one lighter tone for highlights. The student applies shadows on one side and adds a subtle highlight on the opposite side. The tutorial warns against too many shades.
TheFairyPixel adds clothing and small accessories. The artist uses contrast to separate clothing from skin. The student places accessory pixels to suggest detail without adding noise. The tutorial shows a step where the artist toggles outlines on and off to judge clarity.
TheFairyPixel guides the student through color adjustments. The instructor shifts hue slightly to improve contrast. The student checks the sprite on neutral and dark backgrounds. The tutorial reminds the student to keep the palette consistent across related sprites.
TheFairyPixel suggests three practice runs. The student creates a simple hero, a sidekick, and a villain using the same palette. The instructor asks the student to compare silhouettes and adjust scale. The student learns scale control and character variety.
Animation And Export Tips For Web Use
TheFairyPixel begins animation with key frames. The artist draws a neutral frame, a forward frame, and a recoil frame for a simple walk cycle. The student uses three to six frames for small loops. The tutorial emphasizes readable movement over extra frames.
TheFairyPixel teaches frame timing. The instructor sets frame durations to create a natural rhythm. The student tests playback at web-friendly speeds, usually 12 to 16 frames per second for small sprites. The tutorial shows how to tweak timing to make steps feel light or heavy.
TheFairyPixel covers onion skin and frame onioning. The artist enables onion skin to align limbs and keep consistent volume. The student checks overlap and avoids jitter by smoothing pixel placement between frames.
TheFairyPixel explains export formats. The instructor recommends animated GIF for simple previews and sprite sheets or APNG for production use. The student exports sprite sheets with even frame spacing and includes a JSON file when needed. The tutorial shows how to set transparent background and correct canvas padding.
TheFairyPixel gives web optimization tips. The artist reduces palette size where possible and trims unused frames. The student compresses GIFs lightly and prefers APNG or WebP for better color fidelity. The tutorial suggests delivering sprites at native size and using CSS to scale on the page.
TheFairyPixel mentions testing. The student loads the sprite in the browser and checks transparency, alignment, and playback speed. The instructor asks the student to test on desktop and mobile to ensure clarity. The tutorial ends with a small checklist: consistent palette, correct export format, transparent background, and tested frame timing.