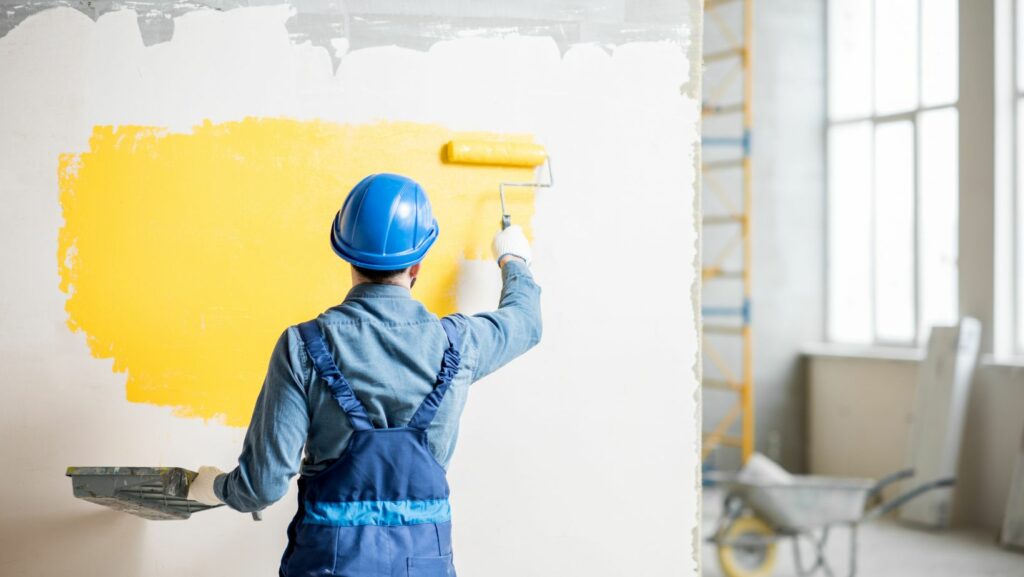
Transforming a plain wall into a masterpiece can elevate any living space, making it more vibrant and personalized. Creative wall painting techniques offer endless possibilities for those looking to add a unique touch to their interiors. From ombre effects to geometric patterns, these methods can turn a simple room into a visual delight.
Creative Wall Painting Techniques
 Exploring creative painting techniques can transform a room’s ambiance, making it a reflection of personal style.
Different types of paint offer unique advantages and can be used to achieve various effects:
- Matte Paint: Ideal for hiding wall imperfections. Offers a non-reflective finish.
- Eggshell Paint: Provides a subtle sheen. Durable and easy to clean.
- Satin Paint: Great for high-traffic areas. Has a smooth, velvety appearance.
- Semi-Gloss Paint: Reflective and moisture-resistant. Perfect for kitchens and bathrooms.
- Gloss Paint: Very shiny and durable. Often used for trim and doors.
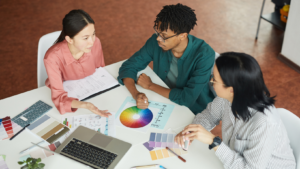
Color Selection Tips
Choosing the right color can dramatically change a room’s feel:
- Consider Room Size: Light colors make small spaces look larger. Dark shades add coziness.
- Natural Light: Test colors in different lighting conditions. Natural light reveals true color.
- Purpose of Room: Soft hues work well in bedrooms for relaxation. Bright colors energize kitchens and living areas.
- Color Harmony: Use a color wheel to select complementary or analogous schemes. This ensures a cohesive look.
- Accent Walls: Use bold colors or patterns on one wall to create a focal point. Keeps the room dynamic without overwhelming.
By selecting the right type of paint and colors, individuals can easily implement creative wall painting techniques to enhance their living spaces.
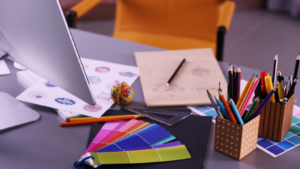
Essential Tools And Materials
For effective and creative wall painting techniques, having the right tools and materials is crucial. Quality tools ensure a smooth application and professional finish.
Brushes And Rollers
Selecting the correct brushes and rollers can make a significant difference in the painting process.
- Brushes: Use angled brushes for precision, especially around edges and corners. Flat brushes work best for large flat areas.
- Rollers: Opt for high-density foam rollers for smooth surfaces and thicker nap rollers for textured walls. Microfiber rollers reduce splatter and achieve even coats.
Additional Tools
To complement brushes and rollers, several other tools are essential for successful wall painting.
- Painter’s Tape: Essential for creating clean, sharp lines and protecting surfaces you don’t want painted.
- Drop Cloths: Protect floors and furniture from drips and spills. Canvas drop cloths are durable and reusable.
- Sandpaper and Spackling: Use fine-grit sandpaper for smoothing surfaces and spackling to fill any holes or imperfections in the wall.
- Paint Trays and Liners: Trays hold paint for rollers, and liners make cleanup easier.
- Extension Poles: Useful for reaching high walls and ceilings without a ladder.
- Stir Sticks and Paint Pouring Spout: Ensure the paint is mixed well and minimize spills while pouring.
These tools and materials, when used in combination, provide the foundation for executing various creative wall painting techniques effectively.
DIY Tips For Beginners
For those new to creative wall painting, starting with the basics ensures success. These tips help you navigate the process smoothly.
Preparing Your Wall
 Clean the surface to remove dust and grime. Fill any holes or cracks with spackling paste, and sand the areas for smoothness after drying. Use painter’s tape around edges, outlets, and trim to protect unwanted areas.
- Gather Materials: Quality brushes, rollers, painter’s tape, drop cloths, and paint trays are essential.
- Priming: Apply primer for a uniform base, especially if the wall is dark or has stains.
- Base Coat: Paint the entire wall with a base color. Allow it to dry completely.
- Technique Application: For patterns or effects:
- Stenciling: Secure stencils with tape, apply paint with a sponge or brush, and remove the stencil carefully.
- Sponging: Dip a sponge in contrasting paint, dab on the wall to create texture, and work in sections.
- Rag Rolling: Roll a rag in diluted paint, roll it over the wall for a marbled effect.
- Detail Work: Use fine brushes for touch-ups and detailed designs.
- Sealing: Top with a clear coat to protect the design.
Closing Remarks
Creative wall painting techniques offer endless possibilities for transforming any room into a unique and inviting space. Whether they’re trying out ombre effects or intricate stenciling, individuals can personalize their walls with ease. With the right tools and a bit of patience, even beginners can achieve professional-looking results. The key lies in preparation, practice, and a touch of creativity. So, they should gather their materials, get inspired, and start painting. Their walls are the perfect canvas for expressing their style and creativity.